
One small change to your cleaning routine – and dust suddenly stays away.
No expensive specialist cleaners are needed, just a clear system.
Many people know the problem: you wipe, cough and move everything aside, only for a grey film to settle over shelves, the television and the dining table again two days later. It can feel as though cleaning achieves nothing. Yet one straightforward method shows that it is not extra effort that determines how long a home looks genuinely dust-free, but the right order and the right tool.
Why dust keeps coming back
Dust does not disappear; it simply lands somewhere else. It settles, falls downwards and is stirred up again by every poorly timed wipe. Starting at the bottom therefore means working against gravity – and testing your patience.
“Working from top to bottom means using gravity rather than fighting it.”
The central mistake is that many people wipe tables, chests of drawers or the television first, before dealing with shelves, lights or cupboards at the end. However, these higher areas hold a fine blanket of dust that falls down again while you clean. As a result, freshly cleaned surfaces suddenly look “dusted” all over again.
Another issue is using the wrong cloth. A dry cotton cloth often pushes dust ahead of it and sends it into the air. The surface may look clean for a moment, but some particles remain airborne and settle again shortly afterwards.
The key: capture first, then polish
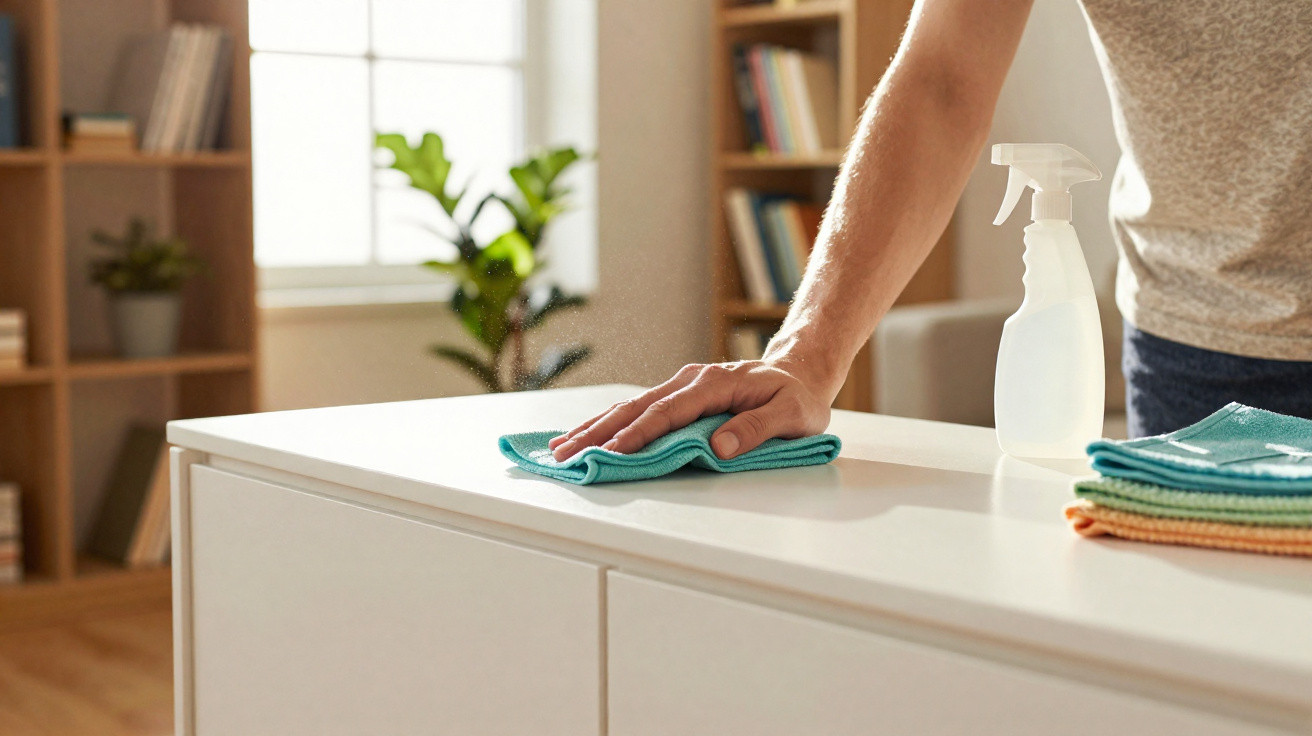
Pairing the correct sequence with a slightly damp microfibre cloth changes the whole process. Several effects work together here:
- Use gravity: Clean from the ceiling down to the floor.
- Capture dust: Dampen microfibre very lightly; do not soak it.
- A smooth finish: Buff delicate, glossy surfaces dry afterwards.
This allows the cloth to trap dust rather than spread it around. The air remains calmer and furniture stays clearer for longer.
The minimal kit for low-dust homes
This technique does not require a cupboard full of cleaning products. Three simple cloths are enough when used intelligently.
| Item | Best use |
|---|---|
| Lightly damp microfibre cloth | All solid surfaces, working from top to bottom |
| Dry microfibre cloth | Glass, screens (switched off), high-gloss furniture, stainless steel |
| Separate microfibre cloth or floor cloth | Skirting boards, radiators, floors |
Water alone is entirely sufficient, preferably lukewarm. Use a small spray bottle or briefly dampen the cloth under the tap, then wring it out firmly – it should feel cool and only minimally damp. Dripping cloths cause streaks, can make wood swell and quickly turn dust into greasy-looking smears.
Professionals advise against:
- traditional feather dusters, which stir up more dust than they retain;
- very wet cloths, which smear everything;
- greasy polishing sprays that leave a film and seem to attract dust magnetically.
The ideal dusting route around the home
1. Start right at the top: ceilings, lights and cupboards
Begin where most people rarely reach: at the ceiling and on high furniture surfaces. Ceiling lights, cupboard tops, high shelves, curtain rails and ventilation grilles all collect a dense layer of dust.
Use the slightly damp microfibre cloth to wipe these areas in slow, steady strokes. Avoid vigorous rubbing; instead, almost “squeegee” the surface, loosening the dust and picking it up directly with the cloth. Folding the cloth creates fresh clean sides that hold the dust rather than redistributing it.
2. At eye level: shelves, sideboards and window sills
Next comes the area visitors notice first: bookcases, chests of drawers, console tables, window sills, lights and decorative items. A structured approach is especially worthwhile here.
A tray or a clear corner is useful: set decorations aside briefly, thoroughly wipe the surface with the lightly damp microfibre cloth, then put the items back. One properly clean pass saves having to revisit the job later.
Simply wipe across the tops of books rather than pulling out every volume, unless you are planning a deep-cleaning project. Leave delicate screens until the dry-finishing stage to prevent streaks.
3. Right at the bottom: skirting boards, radiators, furniture legs and floors
Finally, tackle the surfaces that catch everything: skirting boards, the bases of shelving units, radiator fins, table and chair legs, and the area beneath beds and sofas where accessible.
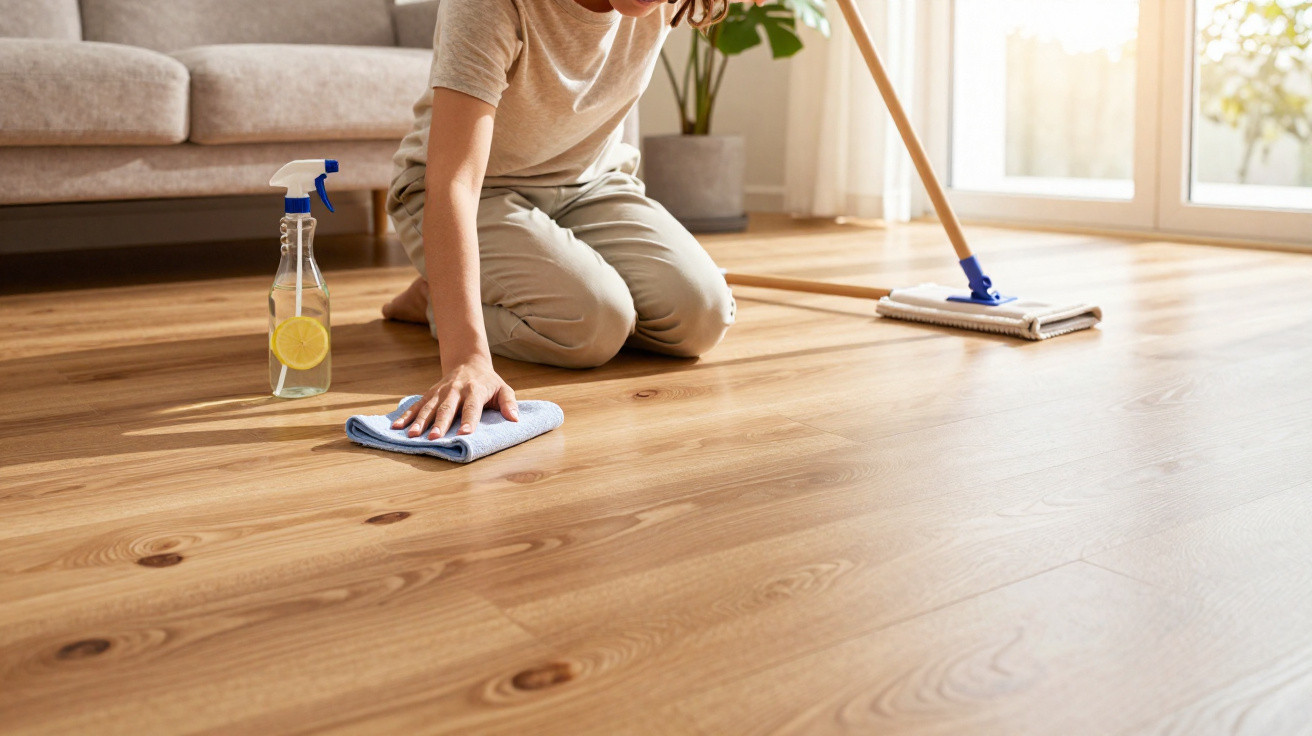
Use a separate cloth for these areas so that heavier floor dust does not end up back on the living-room table. Only after all of these surfaces have been wiped should you clean the floor itself:
- a vacuum cleaner or floor mop with a microfibre pad;
- if needed, a quick pass with a mop that is not overly wet.
“The floor belongs at the end of the routine – never at the beginning.”
Using a microfibre cloth correctly
Microfibre works differently from an old cotton cloth. Its fine fibres effectively grip the dust particles. For the best results, use a clear technique:
- Fold the cloth into four layers to create several clean sides.
- Wipe in straight strokes with light pressure rather than circular movements.
- Refold the cloth as soon as one side is visibly dirty.
- Keep moisture to a minimum – it should feel fresh, but leave no film of water.
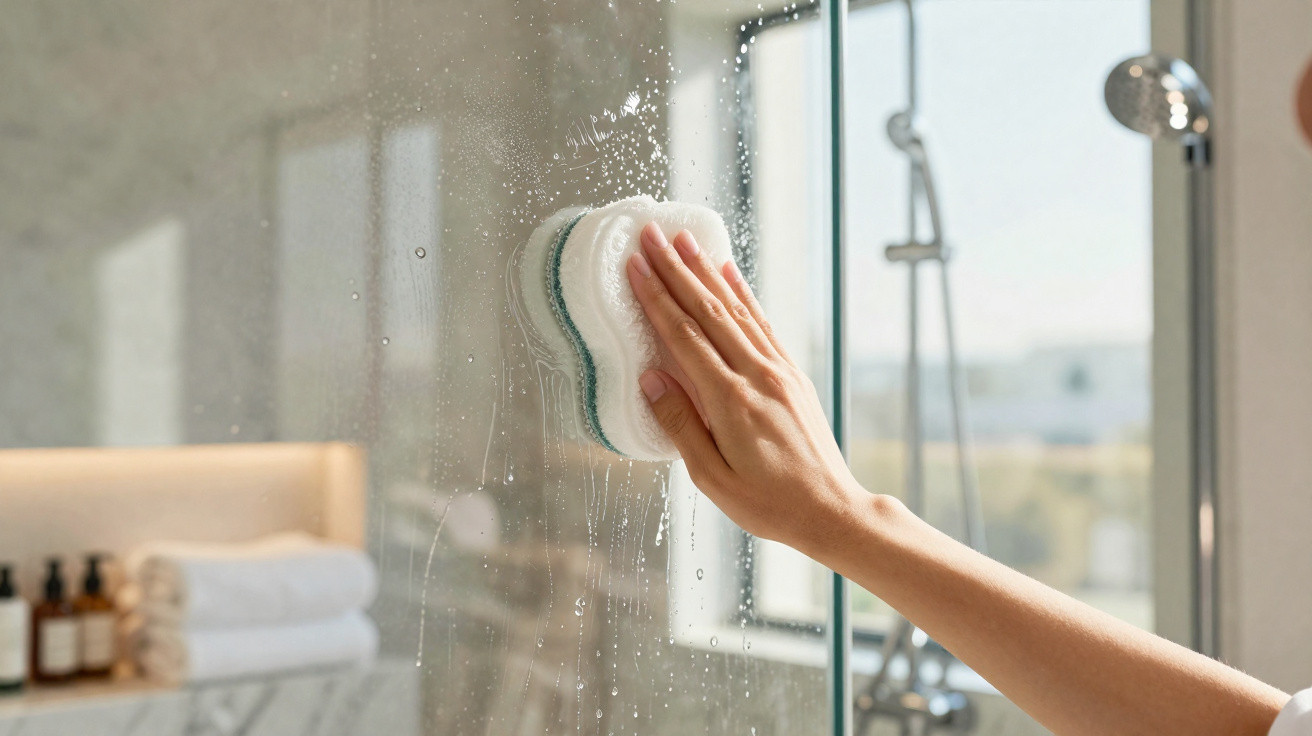
On smooth surfaces such as glass, piano lacquer or stainless steel, follow with a dry pass using a clean microfibre cloth. This removes the last marks, reduces fingerprints and makes it harder for dust to stick over the following days.
Household problem areas: where a gentle touch matters
Not every surface responds well to moisture. Delicate woods and oiled or waxed furniture should be treated with only the slightest dampness and wiped dry immediately afterwards. Otherwise, stains or a dull film may result.
Upholstered furniture and curtains often tolerate water less well than expected. In these cases, a vacuum cleaner with a brush attachment is usually more effective. It lifts fibres, dust and crumbs straight out of the fabric without leaving a smeary residue.
Venetian blinds, radiator grilles and tight corners benefit from a soft brush or paintbrush. Loosen the dust first, then remove it with the lightly damp microfibre cloth; otherwise, some particles will remain trapped in the gap.
How to make the effect last for more than two days
A single thorough clean will not eliminate dust for good. Small routines stop thick layers from building up in the first place.
Three sources play a major role:
- Fresh air: Ventilating is necessary, but it also brings in pollen and dust. Wipe window sills near open windows briefly more often.
- Entrance area: Shoes, bags and coats bring in large quantities of particles. A good doormat and a designated drop-off area help limit this.
- Textiles: Throws, cushions and rugs continually release fibres. Shaking them outdoors or by an open window noticeably reduces the burden on indoor air.
“Fewer fibres and particles in the air mean noticeably less dust on furniture.”
Rather than relying on infrequent major cleaning sessions, spend five minutes on a “mini service” for the surfaces that turn grey most quickly: the coffee table, TV unit, hallway sideboard and living-room window sill. Use a lightly damp microfibre cloth and a few calm wiping movements, then quickly follow glass and stainless steel with a dry cloth – that is all everyday cleaning requires.
What dust contains – and why this method is good for health
Household dust is a mixture of skin flakes, textile fibres, pollen, soot particles, wear from shoe soles, hair and tiny particles from outdoor air. This mix irritates mucous membranes, can worsen allergies and causes the familiar “tingling” sensation in the nose while wiping.
As the steps described bind dust deliberately, less of it remains permanently suspended around the room. The air feels lighter, particularly in bedrooms and living rooms. People with allergies or sensitive airways benefit especially when they avoid feather dusters and heavily fragranced sprays, choosing microfibre and plain water instead.
Anyone who follows this method for a few weeks will soon identify their own personal “problem areas”: perhaps a black TV unit, a glass coffee table or the window sill above a radiator. Those spots are worth a quick, regular wipe, and the whole home will look noticeably fresher for longer without every weekend becoming a cleaning marathon.


Comments
No comments yet. Be the first to comment!
Leave a Comment