
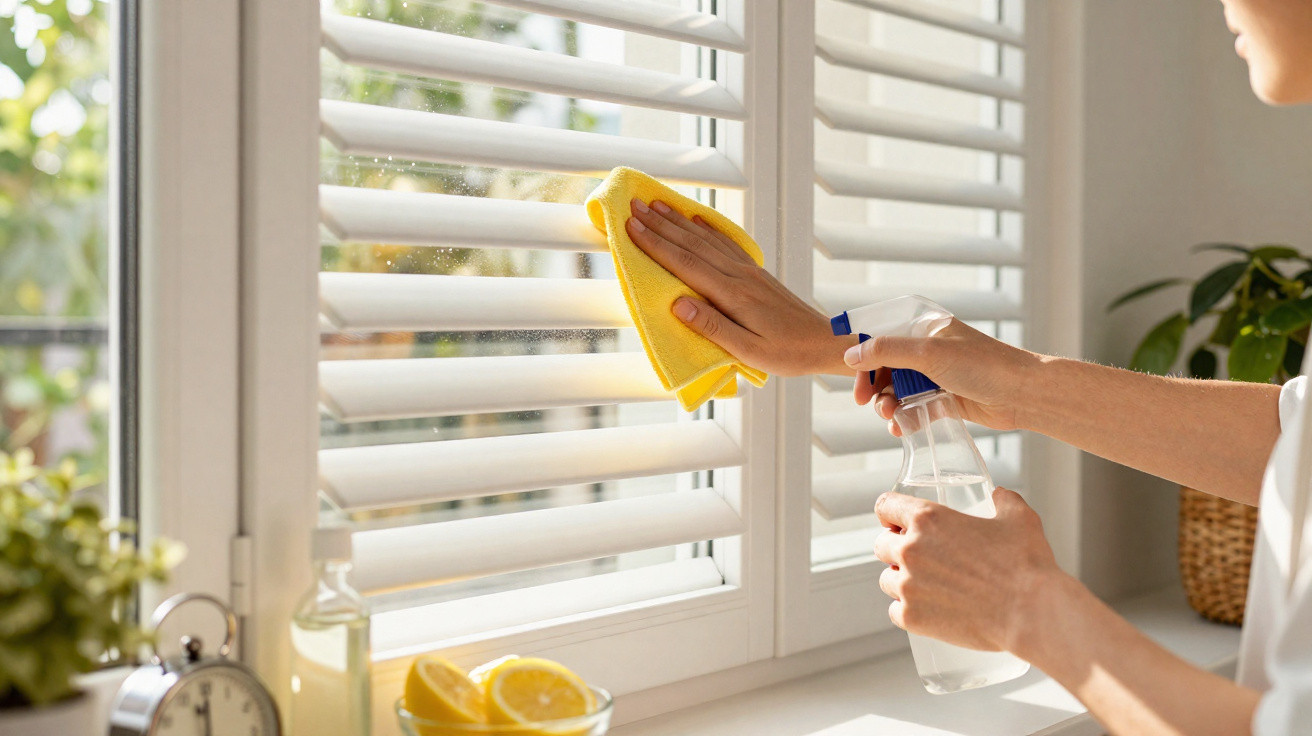
Roller shutters collect dust, light grease and everyday residue in areas that many people only notice when sunlight falls across the window. Within a household cleaning routine, this often becomes a job that gets put off. Yet, with just a few supplies and the right movement across the slats, you can achieve quick results without taking the fitting apart.
Why does dirt cling to the slats so quickly?
Roller shutters are exposed to air circulation, moisture and continual contact with airborne particles. In kitchens and utility rooms, the build-up is more likely to become greasy. In bedrooms and living rooms, dust settles in the gaps, on the cord and inside the rolled-up section, so these areas need attention during cleaning.
In reality, upkeep falls short when cleaning is only done on the surface. Running a dry duster over them can spread debris, particularly on PVC, aluminium or synthetic fabric surfaces. Among the most effective cleaning tips is to remove the dust first, then use a lightly dampened cloth and dry the shutters promptly.
What is the quickest homemade solution for this task?
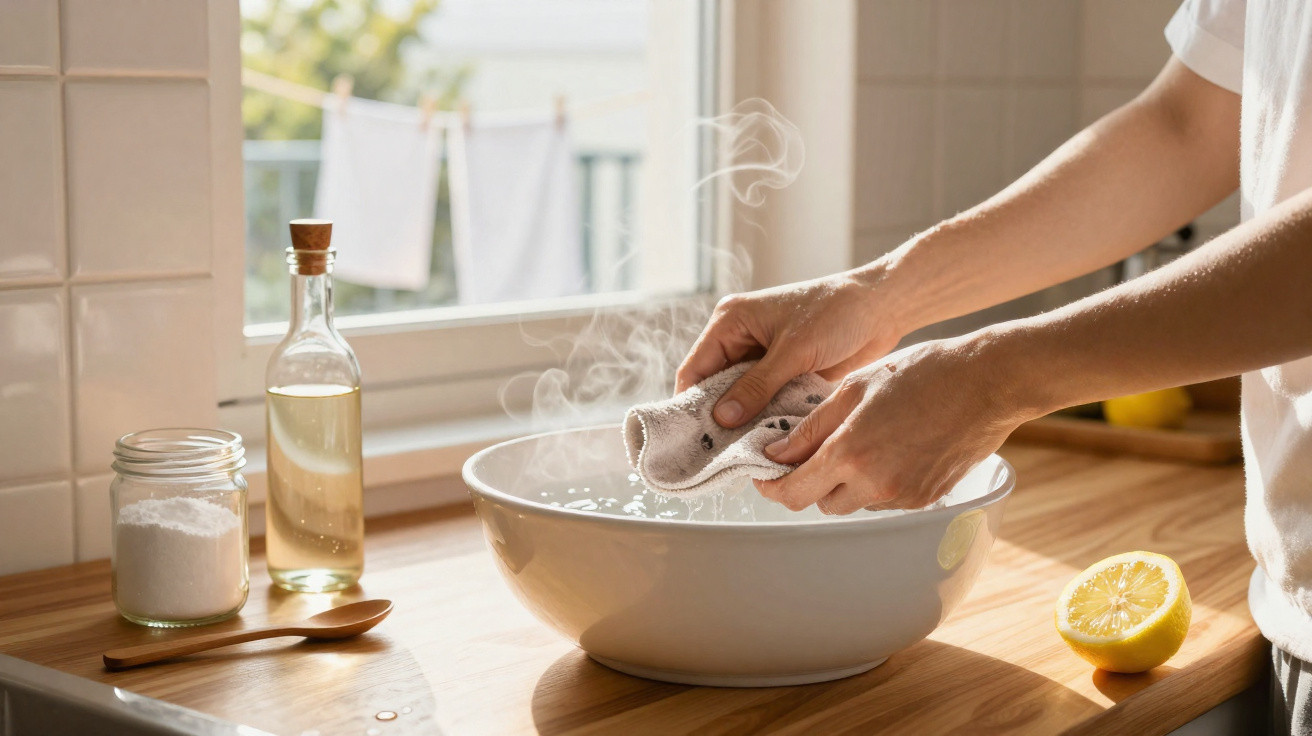
In most situations, the simplest mixture works well: warm water with a few drops of washing-up liquid. It loosens light grease without damaging the finish. For roller shutters fitted to a kitchen window, this method helps remove the dull-looking film that develops on the slats.
Before you begin, gather the right items so that you do not waste time halfway through:
- a clean microfibre cloth
- a small bucket of warm water
- washing-up liquid
- a soft brush or old toothbrush
- a dry cloth for finishing
How can you carry out household cleaning in minutes without dismantling anything?
Quick household cleaning depends more on the order of the steps than on force. Start by partially closing the shutter to make the surfaces easier to reach. Next, lift away the dust using a dry cloth or a vacuum cleaner with a brush attachment. Only then should you wipe with a cloth dampened in the homemade solution, working from top to bottom and following the direction of the slats.
If dirt has collected in corners, use the soft brush only for these detailed areas. Afterwards, go over everything with a dry cloth to prevent water marks and excess moisture reaching the mechanism. This method works especially well as a do-it-yourself task because it avoids dismantling, limits mess and leaves the window ready within minutes.
Which mistakes can stain the shutter or make it harder to maintain?
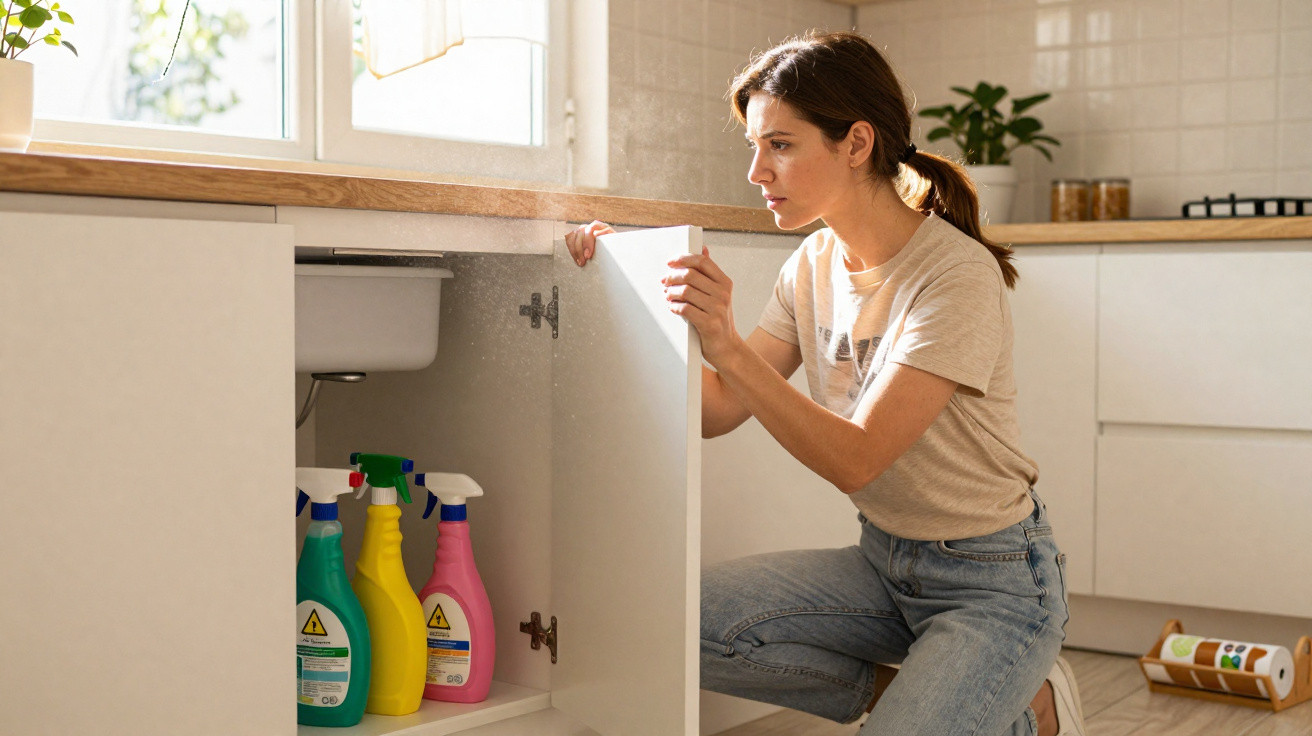
Many stains result from using too much product rather than too little. Excess water can run into the roller mechanism, concentrated washing-up liquid can leave residue, and rough scouring pads can scratch the finish. On more delicate materials, including certain painted surfaces or treated screens, this can shorten the item's lifespan.
To prevent having to repeat the job, avoid these common maintenance mistakes:
- using bleach or a strong degreaser without testing it first
- scrubbing with the abrasive side of a sponge
- spraying water directly onto the mechanism
- skipping the drying stage after using a damp cloth
- allowing heavy dirt to build up for weeks
How can roller shutters stay clean for longer?
Roller shutters benefit more from brief, regular maintenance than from an occasional heavy wash. A weekly wipe with a dry cloth, followed by damp cleaning every two weeks in the most exposed areas, is enough to reduce dust, grease and marks. On a window facing a busy road, the interval may need to be shorter because of soot.
In the household routine, this means treating the shutter as part of caring for the window and ventilating the room. Once household cleaning follows the right rhythm, the slats slide more smoothly, the finish stays even and do-it-yourself care becomes practical routine maintenance rather than an improvised task.


Comments
No comments yet. Be the first to comment!
Leave a Comment