
Grout around the kitchen sink often becomes dark quite quickly, even in homes that are cleaned regularly. Grease, moisture and food debris combine to create stubborn marks that ordinary washing-up liquid alone cannot remove. Knowing why this happens makes it easier to choose the right approach to restore the grout’s light appearance without harming the tiles.
Why does kitchen sink grout darken so quickly?
Around the sink, grease from pans and utensils regularly splashes onto the tiled surface. Although these splatters are often unnoticed, they build up on the porous grout, which readily absorbs dirt and develops dark, yellowish or greyish staining.
Poorly rinsed washing-up liquid, soap residue, dust that sticks to the greasy film and even mould in poorly ventilated spaces can also contribute. Overly harsh cleaning products may erode the grout, making it even easier for dirt and moisture to penetrate.
Watch a video on the Oficina de Casa YouTube channel covering deep-cleaning methods and ways to brighten heavily soiled grout in kitchens and bathrooms:
How can you clean grease-blackened grout without damaging the tiles?
To lift discolouration without being harsh on the tiled finish, it is worth using household mixtures with degreasing properties and a mild, controlled abrasive effect. The aim is to pair a gentle alkaline ingredient, which breaks down grease, with something that helps physically dislodge dirt embedded in the kitchen sink grout.
Following an organised process makes deep cleaning easier and helps prevent damage, particularly to older or already worn grout. This simple sequence can be used as part of everyday cleaning:
- Prepare the surface: Clear away food debris, quickly clean the area with mild washing-up liquid, then dry it with a cloth.
- Apply the homemade mixture: Mix suitable ingredients to degrease the grout without attacking the tile glaze.
- Leave it to work: Allow the solution to soak into the grout’s pores for a few minutes.
- Scrub carefully: Use a medium-bristled brush or an old toothbrush, concentrating on the grout lines.
- Rinse and dry: Remove the product thoroughly and dry with a clean cloth to stop dirt settling again.
What homemade combination is effective for brightening kitchen sink grout?
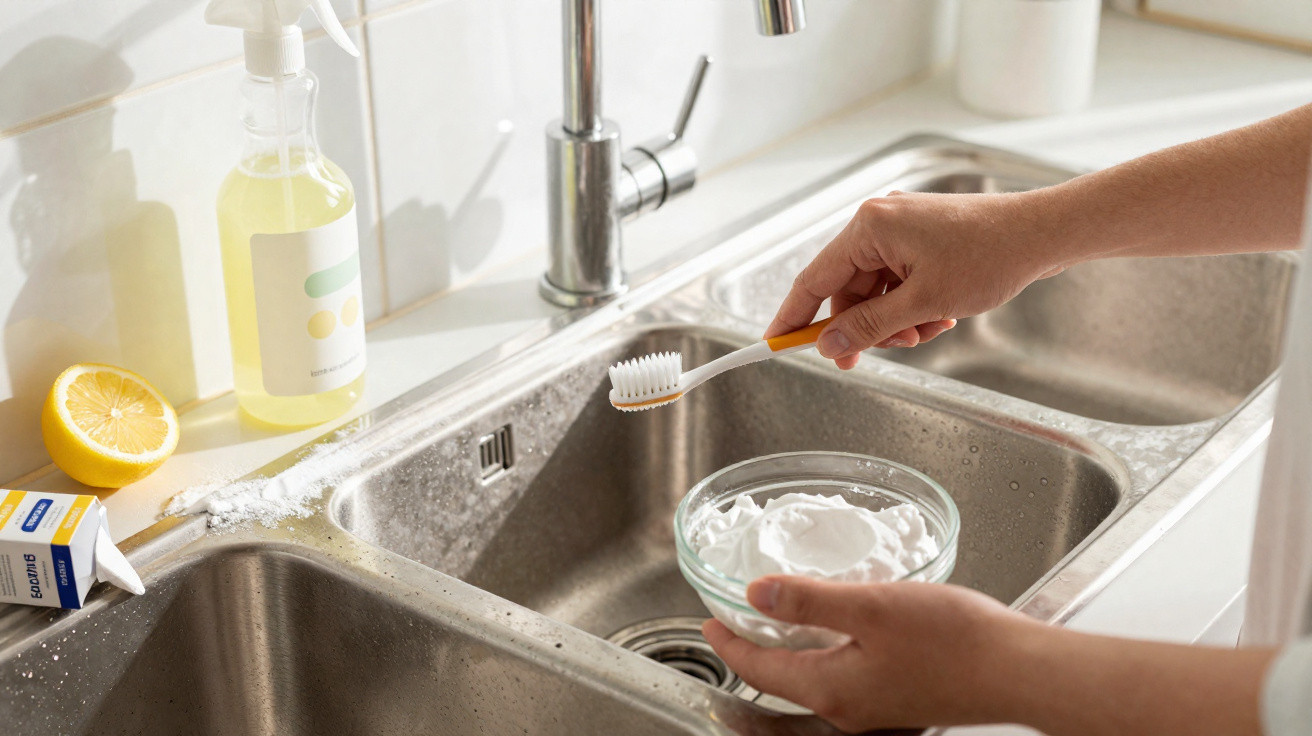
One of the most commonly used household treatments for blackened kitchen sink grout is a paste made from bicarbonate of soda and mild washing-up liquid. Where grease is especially stubborn, white vinegar can be added carefully as a booster to help loosen residue trapped in the pores.
Before treating the entire area, test the mixture on a small, less visible section, especially if the grout is coloured. The following straightforward precautions make this method safer and more effective:
- Use 2 to 3 tablespoons of bicarbonate of soda, gradually adding washing-up liquid until it forms a creamy paste.
- Spread the paste over the darkened grout and leave it for 10 to 15 minutes before scrubbing.
- If there is a heavy grease build-up, drizzle a little vinegar only onto the paste after it has been applied and wait for it to fizz.
- Rinse thoroughly with clean water and dry using a cloth or absorbent paper to help prevent fresh marks.
How often should kitchen sink grout be cleaned to keep it light?
The ideal frequency for deep cleaning depends on how much the kitchen is used. In kitchens where fried foods and rich sauces are prepared every day, it is usually needed once or twice a month. In less frequently used kitchens, intensive cleaning can be carried out every two or three months, alongside routine cleaning with mild washing-up liquid and a damp cloth.
A few small habits can help prevent early darkening: wipe away oil splashes immediately after using the sink, avoid leaving the area continually damp and switch on the extractor fan while cooking. With this routine, the grout stays lighter for longer and subsequent cleaning sessions require far less effort.



Comments
No comments yet. Be the first to comment!
Leave a Comment